How to Dewinterize Your RV: Step-by-Step Guide to a Safe Spring Setup
After months of storage, nothing feels better than preparing your RV for the first trip of the season. Learning how to dewinterize your RV keeps your water systems clean, your electrical components ready, and your entire setup safe and reliable. Whether you own a travel trailer, folding camper, or motorhome, dewinterizing properly ensures your next journey starts without delays or damage.
Why Dewinterizing Matters for Your RV’s Safety and Performance
Your RV endures a lot during cold-weather storage. Freezing temperatures, trapped moisture, and sitting fluids can affect seals, plumbing, and batteries. Dewinterizing restores your RV’s systems to working condition and helps you spot small problems before they become major repairs.
What Happens If You Skip Dewinterizing?
Skipping dewinterizing can lead to cracked pipes, water damage, battery corrosion, and stale air or odors. Even if your camper was stored in mild conditions, inspecting and flushing your systems helps prevent mechanical and plumbing failures once you’re back on the road.
How Winterizing Affects Your RV Systems
Winterizing typically involves draining or filling water lines with RV antifreeze, disconnecting batteries, and sealing vents. These steps protect your rig from freezing, but they also temporarily disable key functions like your plumbing and appliances. Dewinterizing reverses these steps safely so everything runs as it should.
When Is the Right Time to Dewinterize?
Plan to dewinterize once temperatures consistently stay above freezing. Early spring is ideal. Aim to dewinterize before your first trip, but after the threat of deep frost or a late-season snowstorm.
What You’ll Need: Tools and Supplies for Dewinterizing
Having your tools ready saves time and frustration. You’ll need:
- Fresh water hose and water pressure regulator
- Socket wrench or drill for battery terminals
- Tire pressure gauge and air compressor
- Screwdrivers and sealant for minor repairs
- Gloves and rags for cleanup
- Flashlight or inspection light
- Replacement water and air filters
- Canopy clamp accessories
Step-by-Step Dewinterizing Checklist for Your RV
Follow this checklist to make sure your RV is ready for travel after a season of storage.
1. Inspect the Exterior: Seals, Roof, and Windows
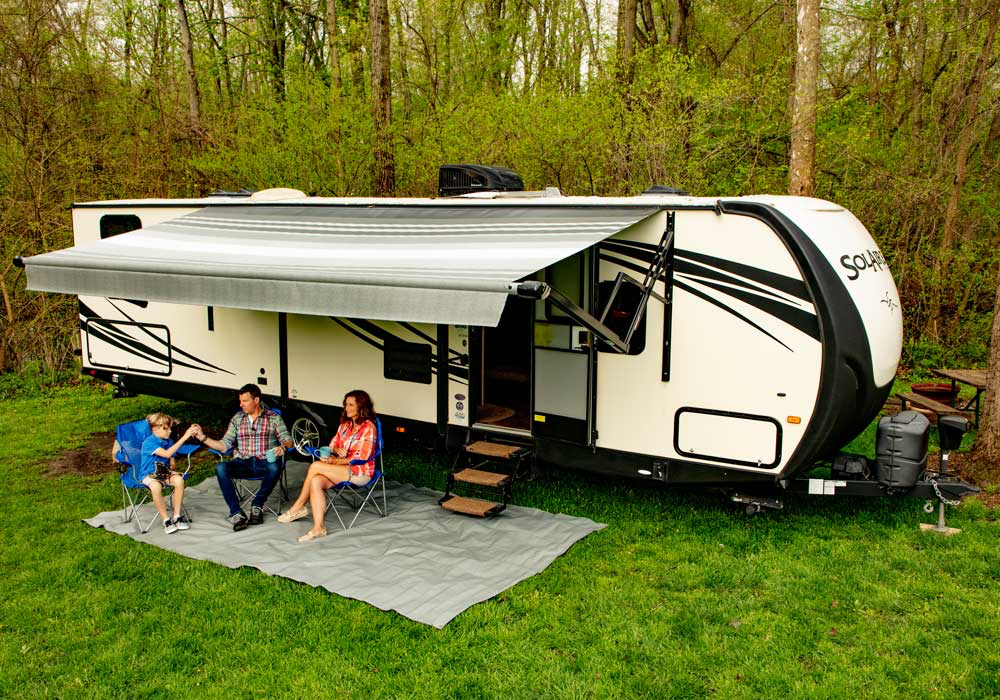
Walk around your RV and check for cracks or gaps in seals, roof seams, awnings and windows. If you find damaged areas that could cause potential leaks, replace your awning fabric. Carefree offers replacement awning fabrics that fit all major brands.
2. Check and Reinstall Your RV Batteries
Reconnect your batteries and ensure they’re fully charged. Clean any corrosion on terminals and verify cables are tight.
3. Inspect Tires for Cracks, Pressure & Tread
Look for cracks in sidewalls, check air pressure, and confirm tread depth. Underinflated tires are a leading cause of blowouts.
4. Check and Fill Propane Tanks
Ensure propane valves are tight and that tanks are filled. Reattach regulators if removed during storage.
5. Test All Propane Appliances for Leaks & Function
Spray soapy water on propane connections and look for bubbles as an indication of cracks and leaks. Then, light the appliances one by one to confirm they’re working properly.
6. Test Smoke, CO2, and Propane Alarms
Replace old batteries and test each alarm. These are small steps that prevent serious hazards.
7. Inspect and Clean the Fridge Vents, AC Vents, and Filters
Dust, debris, and insects can collect over winter. Clean vents and replace filters for efficient airflow.
8. Check the Water Heater
Switch the bypass valve back to “normal” and make sure the drain plug or anode rod is in place.
9. Flush Antifreeze from the Fresh Water System
Attach a fresh water hose and open faucets until all pink antifreeze runs clear.
10. Sanitize the Water System with Bleach or Sanitizer
Mix one cup of bleach per 40 gallons of water and run it through your lines. Let it sit for several hours before flushing with clean water.
11. Reinstall Water Filters (If Removed)
If you removed water filters before winter, reinstall or replace them now.
12. Run and Test Water Pump and All Faucets
Turn on the water pump and run each faucet to remove air pockets, then verify the pressure.
13. Test Appliances: 12V, 110V, and Generator Systems
Check every outlet, switch, and appliance. Run the generator to confirm it starts smoothly and maintains power.
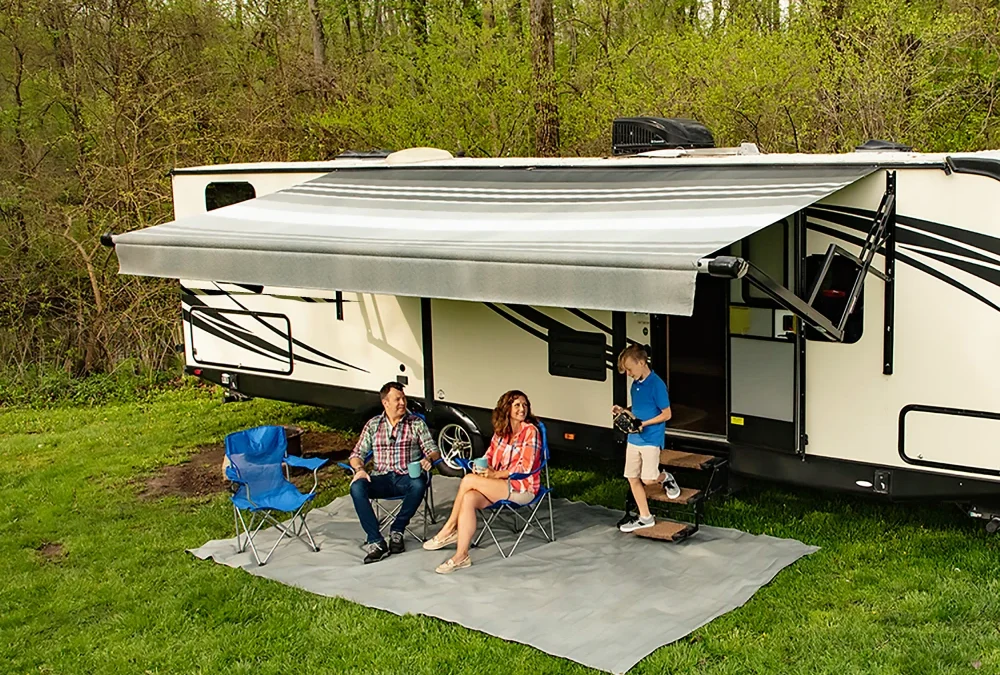
14. Open and Check Slide-Outs, Awnings, and Moving Parts
Extend slide-outs and awnings to inspect fabric and joints. Lubricate hinges and look for tears or discoloration. If you see wear, review our guide on caring for RV awnings to extend the life of your awning.
15. Reconnect Entertainment and Navigation Accessories
Make sure all your entertainment and monitoring devices can power up and connect to your rig before your first trip.
How to Dewinterize an RV Water System
Your water system requires careful handling, especially if you use antifreeze in winter storage. While there are general tips when it comes to dewinterizing an RV, it’s always best to reference your owner’s manual to understand how to dewinterize your model.
Determine What Type of RV Antifreeze Was Used
RV antifreeze is non-toxic and specifically designed for use in potable water systems. Never use automotive antifreeze in your RV, as it’s unsafe and difficult to flush.
Flush RV Antifreeze Safely from Fresh Lines
Connect your fresh water hose, open faucets, and let water flow until it runs clear. Flush both hot and cold sides, including showers and outdoor spigots.
Sanitize the System Step-by-Step
- Mix your sanitizer solution.
- Fill your fresh tank with the solution and run each faucet until you smell bleach.
- Let it sit for four to six hours.
- Drain and flush with fresh water until the smell is gone.
Troubleshooting Low Water Pressure or Odors
If water pressure is weak, inspect filters and check for leaks near the pump. Persistent odors can signal bacteria build-up. Repeat sanitizing and inspect your water heater.
Final Safety Checks Before You Hit the Road
A few final checks ensure a safe and smooth trip.
Check Fire Extinguishers and First Aid Kit
Replace expired items and confirm all safety gear is accessible.
Confirm Registration, Insurance, and Documents
Keep all paperwork up to date and stored in a location where you can access it quickly.
Review Emergency Supplies
Restock essentials like flashlights, flares, reflective cones, and jumper cables.
Clean Filters, Vents, Bedding, and Fridge
A clean RV feels fresh and ready for adventure. It also gives you a comfortable place to rest and recharge. Deep clean your fridge and refresh bedding before your first night away.
Optional Spring Upgrades After Dewinterizing
Once you’ve finished dewinterizing your camper, spring is a great time for upgrades that improve comfort and convenience.
Replace Worn Seals or Weatherstripping
Replacing seals prevents leaks and boosts insulation to keep you warmer in unpredictable springtime temps and cool summer nights.
Add Insulation or Soundproofing Materials
A few small upgrades can make travel quieter and more energy efficient. Stick-on acoustic panels are a great addition to motorhome rooms and RV walls because they can absorb and minimize noise.
Install Wi-Fi Extenders, Solar Panels, or Monitoring Systems
Tech upgrades like satellite wifi help you stay connected and track power usage on the road.
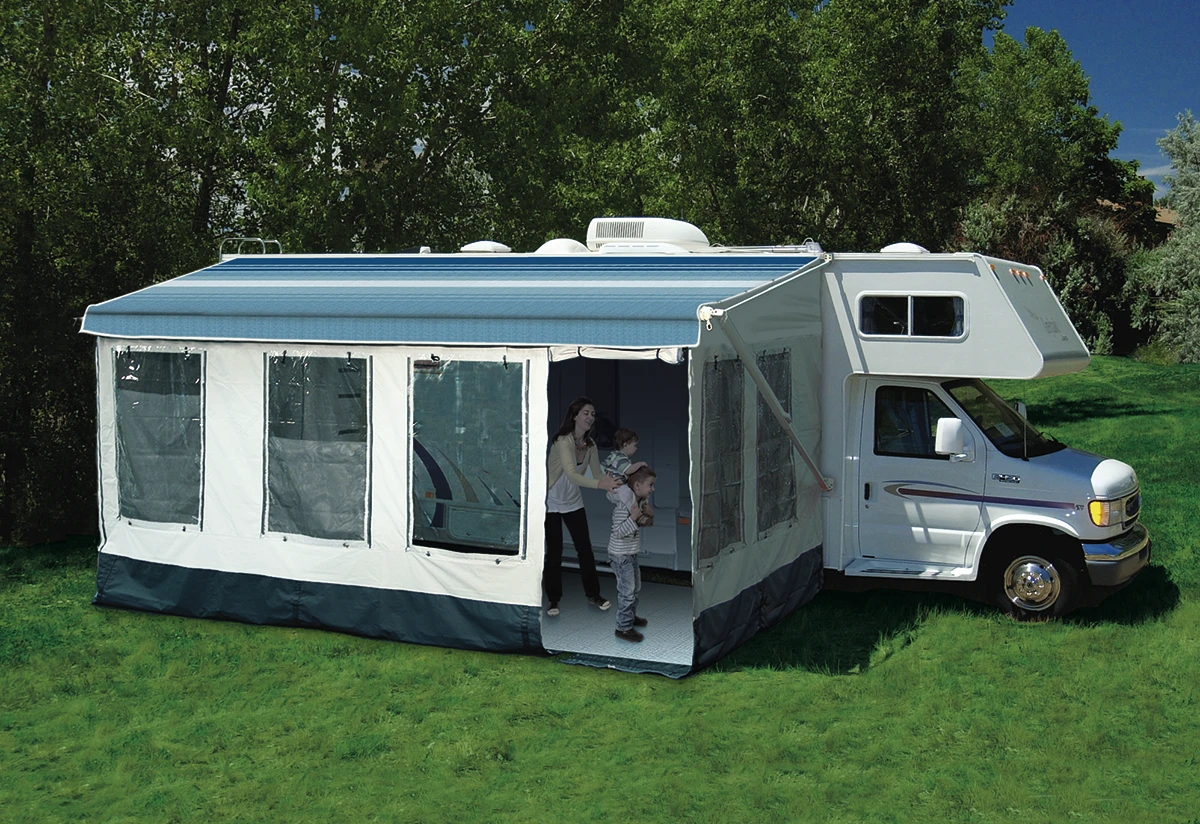
Consider New Awnings or SunBlocker Panels
Carefree of Colorado offers the ultimate accessories for RV travelers and sun seekers. Enhance your setup with our SunBlocker and SideBlocker panels, or our easy-to-use SunShade companion awnings. Create a comfortable outdoor area and keep your campsite clean with our durable awning mats.
Conclusion: Carefree Accessories Keep You Ready for the Road Ahead
If you are ever unsure of how to dewinterize your RV or have questions, you can always visit a qualified RV dealer for personalized help!
When you’re ready to get back on the road, upgrade your experience with high-performance RV accessories from Carefree of Colorado. For more seasonal tips, explore our adventure journal and start your next journey in comfort.
FAQs About Dewinterizing Your RV
When Should You Dewinterize Your Camper?
Dewinterize before your first spring trip, but after freezing evening temperatures have passed.
How Do You Dewinterize an RV?
Inspect seals, flush the water system, check appliances, and test propane and electrical connections.
How Long Does Dewinterizing Take?
Most owners complete it in half a day.
How Do You Flush Antifreeze Out of an RV?
It’s always best to check your owner’s manual to check for how to fish antifreeze out of your specific model. Most times, it can be done by running clean water through every line until it runs clear, then sanitizing.
Can I Skip Sanitizing if I Only Used Air to Winterize?
No. Sanitizing keeps your fresh water safe and prevents bacterial growth.
What if My Pipes Are Leaking After Dewinterizing?
Shut off the water pump, inspect fittings, and replace cracked lines or seals.
Do I Need to Test Every Appliance?
Yes. Testing ensures safety and reliability for the season ahead.