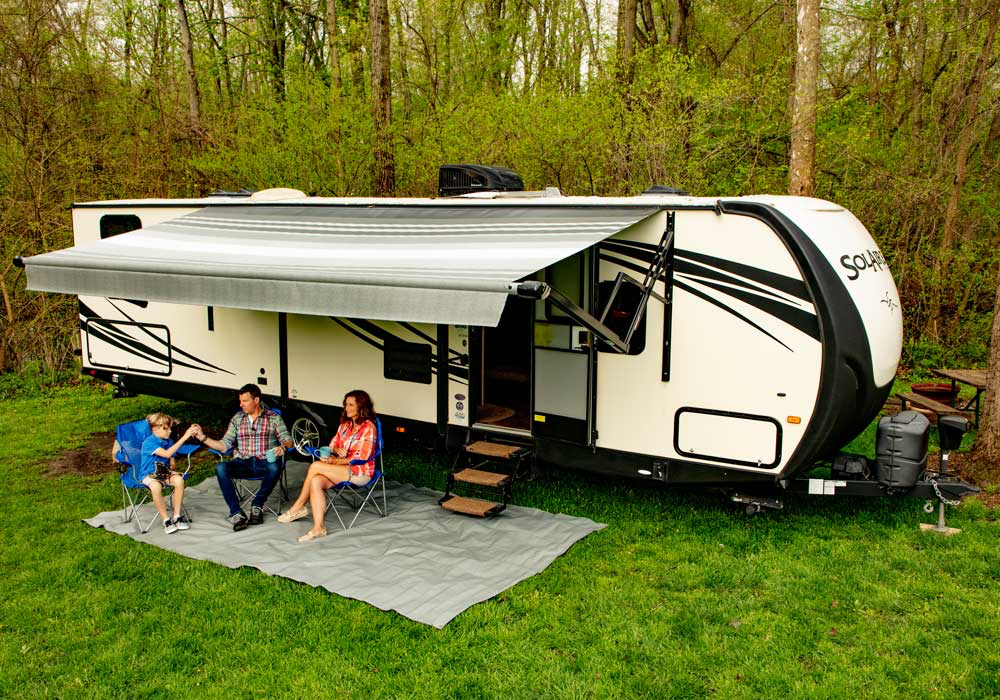
Replacing your RV awning might sound like a hefty task, but if you’re a road warrior it is a weekend project well worth the effort. Whether your current awning is torn, faded, stained, or just ready for an upgrade, installing a new one will instantly transform your rig and make your next adventure more comfortable.
At
Carefree, we know a lot about high-performance shade solutions. Our premium products are precision-engineered and designed to last. Use this step-by-step guide to install your replacement awning with confidence and find out why Carefree products are the perfect upgrade for wherever the road takes you.
Why RV Owners Replace Their Awnings
RV awnings take a beating. UV exposure, wind, rain, and road debris can quickly turn a great shade into a saggy, ripped mess. Replacing your awning gives you the opportunity to upgrade your outdoor living space, improve your RV setup, and avoid further damage to the mechanical arms and attachments of your rig.
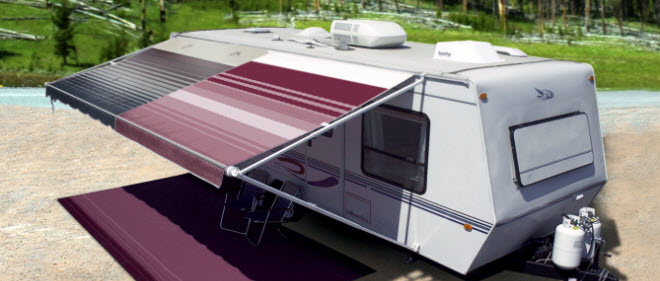
Choosing the right replacement fabric matters. A heavy-duty, UV-resistant awning like those from Carefree offers better protection from the elements, longer life, and smoother operation. When you install it yourself, you also save money and enjoy the satisfaction of doing it your way.
Step-by-Step Guide to Replacing an RV Awning
Choose the Right Replacement Awning
Before you break out your ladder and toolbelt, it’s important to
pick a replacement awning that matches your RV model and lifestyle. Consider the fabric type, size, and use. Do you prefer manual or motorized operation? Are you looking for just shade or do you need water resistance too? Is seeing through the fabric important, or is opaque coverage preferred? No matter your preferences, Carefree awnings are made with high-performance materials built for the long haul.
Measure Your Existing Awning Set Up
What’s our biggest tip for DIY awning replacement? Measure, measure, measure. Don’t guess the size you need. To get the perfect fit, measure from the center of one mounting arm to the center of the other. This measurement, not the fabric width, is what determines the size of your replacement awning. You will also need to measure how far the awning extends (projection) and the diameter of the roller tube if you plan to reuse any of the mechanical components.
Gather Tools and Safety Gear
While you don’t need a full workshop to DIY your awning replacement, a few essential tools will go a long way.
- Power drill with multiple screwdriver bits
- Socket wrench set
- Tape measure
- Screwdriver or angled screwdriver for hard to reach areas
- Safety goggles
- Work gloves
- Ladder
- A friend or family member
Awnings can be awkward to handle. Having a second pair of hands on standby will make the replacement process safer, easier, and more enjoyable (if you call the right person!)
Prepare Your RV for Safe Awning Removal
Park your RV on a flat surface and engage the parking brake. Turn off any connected power sources if your awning is motorized. Lay a padded surface or tarp beneath the awning to catch loose screws and protect hardware during removal.
Take Down the Old Awning
Detach the mounting brackets, remove the end caps, and slide the fabric off of the awning rail. Depending on the model of your existing awning, you may need to carefully unwind the tension springs before removal.
Install the New Awning Fabric and Arms
Slide your new awning fabric into the rail channel and reattach the roller tube if applicable. Secure the arms into their brackets and reconnect all hardware. For manual awnings, wind the tension springs back into place according to manufacturer instructions. If you are installing a motorized awning, double-check that the wiring has been reconnected properly before you test the extension.
Secure the Awning and Test
When everything is reattached, extend and retract your new awning a few times to make sure it is rolling evenly and securely locking in place. Tighten any loose hardware and make final adjustments to the pitch or projection as needed. Once you are happy with the fit, clean up and get ready to enjoy some well-earned time in the shade!
Maintenance Tips To Extend the Life of Your New Awning
A few simple habits will help your new awning last for many seasons:
- Always retract your awning during high wind or severe storms.
- Allow your fabric to dry completely before rolling it in. This will prevent mold and mildew.
- Clean regularly with mild soap and water or a recommended commercial awning cleaner.
- Inspect the arms and fasteners a few times a year for rust, wear and tear.
Ready to Upgrade? Choose Carefree for Premium RV Shade Solutions.
Replacing your awning is one of the most rewarding RV upgrades. With this guide and Carefree shade solutions, you can improve the comfort and style of your setup while showing off your DIY skills.
Browse our collection of premium RV awnings or reach out to our team or a dealer near you. We’ve got you covered anyway the road goes!
Frequently Asked Questions About Replacing an RV Awning
What tools do I need to replace an RV awning?
A power drill, screwdriver, socket set, and safety gear are the basics. You may also need a ladder and a friend to help hold the awning.
Can I replace just the awning fabric without replacing the arm?
Yes. If your frame is still in good condition, you can simply slide out the old fabric and install a new one.
How long does it take to replace an RV awning?
Most DIYers can complete the project in two to three hours, depending on experience and whether you’re installing a full kit or just the fabric.
Is it safe to replace an awning by myself?
We recommend having at least one other person assist you. Awnings are long and awkward to handle alone, and a buddy helps keep things safe and steady.
How do I know if I need a heavy-duty awning?
If you frequently camp in sunny, windy, or rainy environments, a heavy-duty awning will provide better protection and durability over time.