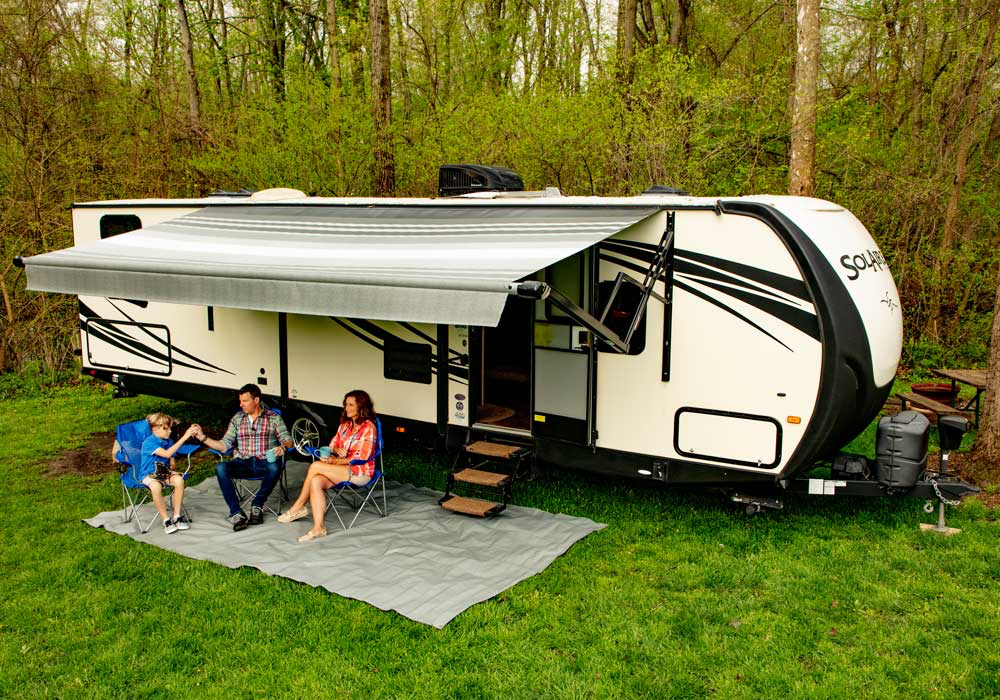
After a long day on the road, nothing beats kicking back and enjoying a shady patio space outside your RV. But, if you’ve ever wrestled with your
RV awning support arms or wondered where the awning rod even goes, you’re not alone. If you’ve recently upgraded your awning or need a quick set-up refresher, we’ll walk you through how to open your awning with ease.
Understanding RV Awning Types
Before you start pushing or pulling, make sure you know
what type of awning is installed on your rig.
Manual Awnings
Manual RV awnings are operated by hand and use support arms, pull straps, and a ratchet system to open and close. They are easy to operate, do not require any power hookup, and are found on many older RV models.
Electric Awnings
Electric awnings are powered and extend and retract with the push of a button. These models often include remote control features and adjustable settings to make setup easier, especially if you are a solo traveler or putting the awning away after dark.
How to Open an RV Awning: Step-by-Step Instructions
Let’s break down the steps for both manual and electric awnings so you can set up and take down your shade quickly and safely.
Opening a Manual RV Awning
- Loosen the Rafter Knobs: Start by locating the rafter knobs on the awning arms. Loosen them slightly so the arms can move freely.
- Release the Travel Locks: Find the travel locks near the awning arms and release them. This allows the awning to extend without resistance.
- Flip the Ratchet Mechanism: Switch the ratchet mechanism to the open or “roll out” position. This step is crucial—if you forget it, the awning won’t budge.
- Extend the Awning Using the Strap: Grab the pull strap at the center of the awning and gently pull outward. Walk backward slowly, keeping tension as the fabric rolls out evenly.
- Lock Rafters and Raise the Awning: Once fully extended, slide the support arms into place along the sides of the awning and tighten the rafter knobs. Raise the awning to your desired height and make sure everything feels stable.
Opening an Electric RV Awning
- Turn on the Awning Power Switch: Flip the power switch inside your RV to activate the awning system.
- Use the Control Panel or Remote: Use the onboard control panel or remote to begin opening the awning. Hold the button down until the awning extends fully.
- Stop When Fully Extended: Watch for the awning arms to lock into place and stop pressing the button when fully extended. Don’t force it beyond its natural stopping point.
Tips for Safe and Smooth Operation
- Check the awning arms and joints regularly. Dirt and debris can jam the moving parts. Clean them often to keep them sliding smoothly.
- Retract the awning at night when you leave your RV and during inclement weather. It’s better to be safe than sorry if the wind picks up unexpectedly.
Troubleshooting Common Awning Problems
- Awning won’t extend (manual). Double-check the ratchet mechanism and make sure travel locks are released.
- Fabric rolls unevenly. Adjust the tension on the support arms and extend again slowly.
- Electric awning doesn’t respond. Check the fuse or circuit breaker, and ensure the power switch is on.
- Awning arms feel stuck. Clean the rails and apply RV-safe lubricant to the moving parts.
Enjoy Hassle-Free Shade with Carefree
Opening your RV awning doesn’t have to be a guessing game. With a little practice, your shade setup will become second nature. If you’re ready to upgrade your awning for one that is easy to use, built to last, and made for adventure,
explore Carefree’s premium RV awning systems and shade accessories or find a dealer near you.