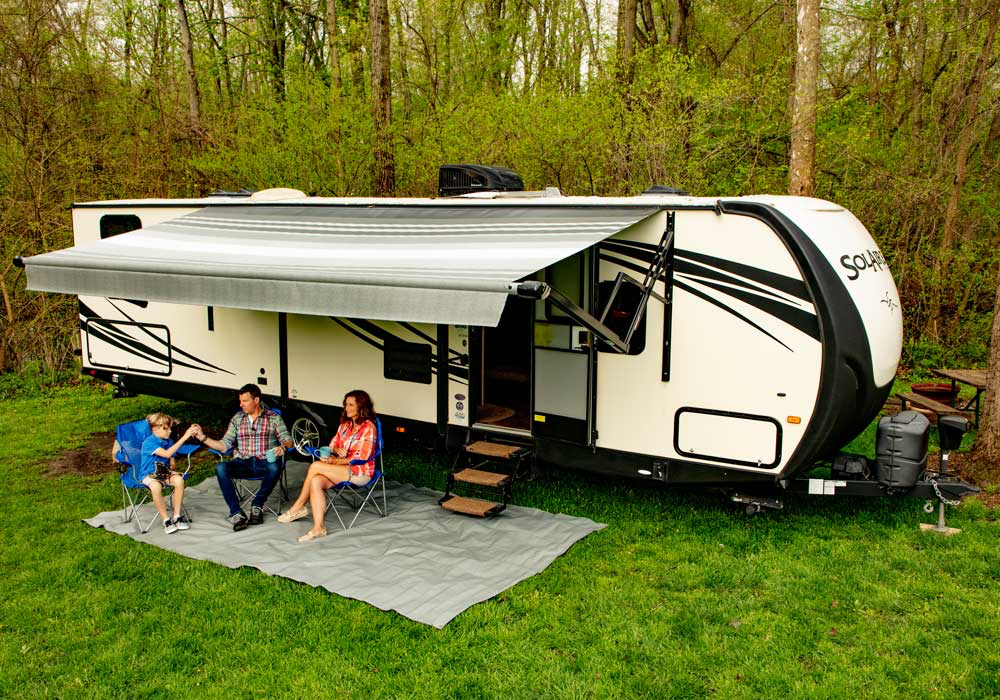
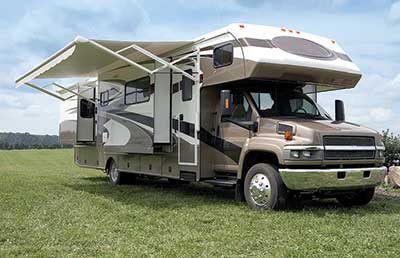
Upgrading your RV with a new awning is a game-changer when it comes to staying cool and comfortable on the road. Whether you are setting up camp by a lake or pulling off the highway into a desert sunset, a high-performance awning creates instant comfort and protection. And the best part is you do not need to be a professional to do the job. With the right product and a little guidance, RV awning installation becomes intuitive and fun.
This guide will take you through every step so you can take control of your shade and enjoy the road ahead.
Types of Awnings and Installation Options
Not all
RV awnings are created equal. Some are designed for simplicity. Others are loaded with smart features. The best option for your rig depends on how you travel, where you camp, and how hands-on you want to be.
Types of RV Awnings and Their Installation Requirements
The most common awning types include:
- Manual retractable awnings: These are easy to operate, lightweight, and designed for straightforward installation
- Power retractable awnings: A modern favorite, these motorized systems often require electrical connections and careful wiring
- Box or cassette awnings: Sleek and self-contained, these require precision mounting and may involve more parts or reinforcements
- Canopy-style awnings: These tension-based systems offer full coverage but typically involve bracing or extended setup
Every option has its own benefits and installation needs. Understanding those details up front will set the tone for a smooth install.
Manual vs Power Awning Installation Pros and Cons
Manual awnings are ideal for travelers who value simplicity and independence. They involve fewer moving parts, no electrical work, and are generally easier to maintain. Power awnings deliver luxury and ease of use but often require more planning during installation.
If you are looking for quick shade without complexity, go manual. If push-button convenience is more your style, go power.
Common Awning Installation Mistakes to Avoid
- Measuring incorrectly or skipping measurements
- Using the wrong fasteners or mounting into non-structural areas
- Over-tightening bolts which can damage surfaces
- Rushing electrical connections without following safety procedures
Avoiding these mistakes ensures a better fit and better long-term performance.
Preparing For RV Awning Installation
Success starts with solid prep. The more time you spend getting ready, the easier your awning installation will be. This section helps you select the right product, gather the right tools, and measure with confidence.
Choosing The Right Awning For Your RV
Start with your goals. Do you want maximum shade, an integrated look, or something lightweight and minimal? Consider your RV’s dimensions, wall strength, and how much clearance you have. Choose a model that suits your lifestyle and your level of experience with installations.
Look for preassembled arms, reinforced brackets, and fabrics engineered for UV resistance. The right awning should be both stylish and built to last.
Measuring Your RV For Proper Fit
Measure from center to center of the mounting points where the brackets will be installed. Record the width of your flat mounting surface, and be sure to factor in slide-outs, vents, and lighting that could interfere with extension or retraction. Accuracy here sets the stage for everything that follows.
Materials And Tools Needed
Most installations require:
- Power drill and bits
- Screwdrivers
- Measuring tape
- Level
- Marker or painter’s tape
- Ladder
- Safety goggles and gloves
- Sealant for waterproofing holes
- Fasteners included with your awning kit
Review the awning instructions before beginning so you are clear on all components.
Step-By-Step Guide RV Awning Installation Guide
Once you have prepped your rig and unpacked your awning, it is time to get started. These steps will walk you through a typical installation from start to finish.
- Unboxing And Reviewing The Awning Kit: Lay out all components and compare them with the instruction manual or packing list. Make sure you have the arms, brackets, hardware, and roller tube before getting on the ladder.
- Marking The Mounting Location: Use your measurements to mark the exact locations for your brackets. Use a level to ensure the line is straight. This will help your awning function properly and look professionally installed.
- Installing The Mounting Brackets: Drill into the frame or structural points of your RV, never into hollow walls. Use the recommended fasteners and apply sealant around each hole to prevent water leaks.
- Securing The Awning Roller Tube: Lift the roller tube into place and lock it into the brackets. This step may require an extra pair of hands. Make sure it is centered and secured before proceeding.
- Attaching The Awning Arms: Connect the arms to both the roller tube and the lower mounts on your RV. Ensure all bolts are tightened and test for smooth extension and retraction.
- Testing The Functionality: Extend and retract the awning slowly. Check the alignment, listen for any friction, and ensure the arms and brackets are performing as intended. Adjust tension or alignment if necessary.
Tips For A Successful Installation
- Ensuring A Level And Secure Fit: Check for even spacing and alignment across both arms. A tilted installation can lead to poor tension and fabric wear over time.
- Double-Checking Fasteners And Adjustments: Before you pack up your tools, go over every connection. Loose bolts can compromise safety. Take your time and verify every fastener is in place.
- When to Call a Professional: If your installation involves complex electrical wiring, custom mounting brackets, or unexpected wall materials, it is smart to bring in an RV technician. Safety always comes first.
Shade Made
Installing your own RV awning gives you the freedom and flexibility to enjoy life on the road as you see fit. At
Carefree of Colorado, we believe that shade should never slow you down. That is why we design products that are intuitive to install, effortless to us, and rugged enough to follow you anywhere.
Ready to find the perfect awning for your next trip?
Browse our products or connect with a
dealer near you to place an order.

