
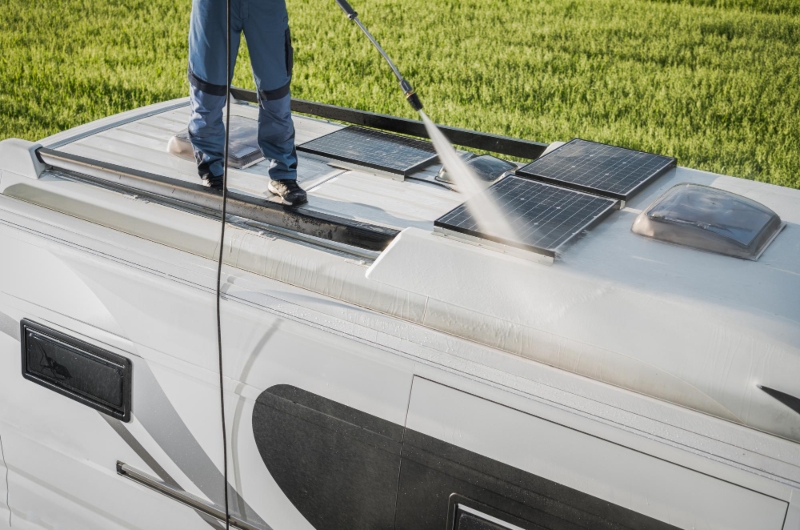
Your RV awning has probably provided shade on hot summer afternoons, shelter during unexpected rainstorms, and a comfortable outdoor living space on countless adventures. But when camping season starts winding down, many RV owners focus on storing the RV itself and forget about the awning.That’s a mistake.
An RV awning is one of the most exposed components on your coach. Sun, rain, wind, snow, and ice all take their toll over time. A little attention before winter arrives can go a long way toward keeping your awning looking great and operating smoothly for years to come.
The good news? Most awning maintenance only takes an afternoon and requires a few basic supplies.
Here’s how to prepare your RV awning for winter storage the right way.
Why Winter Protection Matters
RV awnings are designed to handle the elements, but they aren’t indestructible. When an RV sits unused for months at a time, moisture can lead to mold and mildew, dirt and debris can stain the fabric, and freezing temperatures can expose minor issues that turn into bigger repairs by spring. Taking a few preventative steps now can help you avoid:- Mold and mildew buildup
- Fabric staining and discoloration
- Corrosion on metal components
- Premature fading from UV exposure
- Costly fabric or hardware repairs
- Unexpected problems when you’re ready to hit the road again
Step 1: Give Your Awning a Good Cleaning
Before your awning goes into storage, start with a thorough cleaning. Even if the fabric looks fairly clean, it’s common for dirt, dust, pollen, bird droppings, tree sap, and leaves to collect over the camping season. Left in place for several months, those contaminants can cause staining or encourage mold growth.What You’ll Need
- Mild soap or RV-approved cleaner
- Soft brush or sponge
- Garden hose
- Microfiber towels
Step 2: Inspect the Fabric for Wear and Tear
Cleaning is the perfect time to perform a quick inspection. Look closely for:- Small tears or holes
- Frayed stitching
- Worn seams
- Areas of excessive fading
- Signs of mildew or staining
Step 3: Check the Hardware and Support Arms
The fabric gets most of the attention, but the hardware deserves a look too. Inspect:- Support arms
- Mounting brackets
- Fasteners
- Roller tube
- Motorized components (if equipped)
Step 4: Lubricate Moving Components
A few minutes of lubrication can help prevent sticking and corrosion during the off-season. Apply a manufacturer-approved lubricant (dry silicone) to:- Pivot points
- Hinges
- Moving joints
- Roller mechanisms
Step 5: Make Sure the Awning Retracts Completely
It sounds obvious, but you’d be surprised how often debris gets trapped in the roller as the awning retracts. Before storing your RV:- Verify the fabric rolls up evenly
- Remove leaves and debris
- Check that both sides close properly
- Confirm any locking mechanisms are fully engaged
Step 6: Don’t Forget About Winter Inspections
Once your RV is stored, your work isn’t completely done. If possible, check on your RV every few weeks throughout the winter. During those visits:- Look for signs of water intrusion
- Check for pests
- Inspect exposed hardware
- Remove heavy snow buildup if necessary
- Verify covers and seals remain secure
Step 7: Do a Spring Readiness Check Before Your First Trip
When camping season returns, resist the urge to immediately extend the awning and head for the campground. Take a few minutes to:- Visually inspect the fabric
- Check hardware and fasteners
- Verify smooth operation
- Look for signs of mold or mildew
- Test motorized functions